
Now I'm FAR from being this good so don't expect me to show you how to create works of art. (bare with me, I suck at paintshop and this will be my first cube map other then a gel map) We will be using paintshop for this tutorial, but even paint will do the same thing we need to do. First off we need a templet so we know what were doing. This templet is located at data\levels\C10\bitmaps on your computer. If it's not there simply download it off this page.

One thing to note about cube maps is they don't need to follow the power of 2 restriction of other bitmaps, however the boxes within them MUST. This bitmap is composed of 6 separate images, one for each side of a box. (hence the name cube map) Each cube has 64 x 64 pixles so it's fairly low quality. We are going to to make a higher resolution bitmap so open up the image in paintshop and rescale it as shown in the pics. Oh and if your wondering why the bitmap size is 256 x 192 it's because 64 x 4 (how many cubes there are across) = 256 and 64 x 3 (how many cube are down) = 192.

Change that to this for a higher res cubes. (128 x 128)

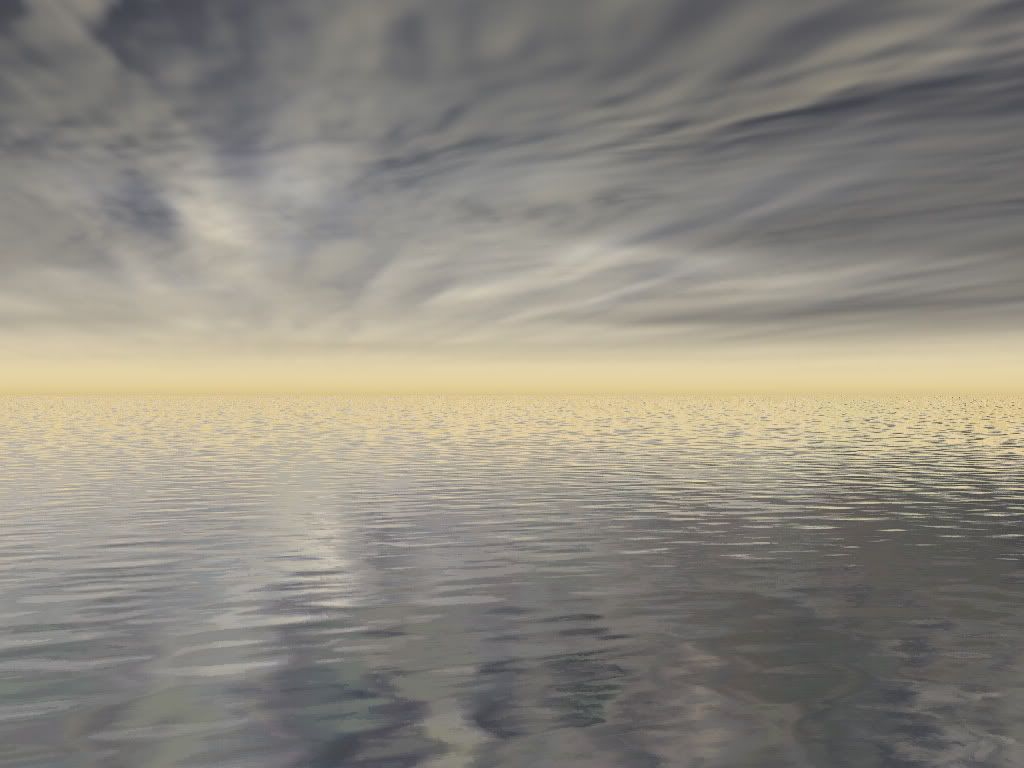
Now that we have our templet ready we can begin making our bitmap. Now this bungie made bitmap is already a perfect example but for the sake of this tutorial i'll make one anyway. (remember I suck at paintshop so go easy on me) We are going to be making a forest cubemap so select everything that isn't white and turn it into a solid blue color. (blue is the sky)

Now before we continue you need to know why the bitmap in shaped the way it is. Image by biocroc, cube map in the picture by me.

The only thing to note here is that there are four cubes in the center row, one for each side of a cube. Now we need not worry about separating the center row cubes from each other when we draw the bitmap but we do need to do something different for the top and bottom. (we will see later) Here is one more example made by crowpath.
Now enough of this chit-chat, let make this thing already. First off draw your hills on the middle row.
If you want it to be totally accurate, it's laid out like this according to the orientation of the map in Max:
1: Ceiling
2: X+
3: Floor
4: Y+
5: X-
6: Y-


Next draw trees. (i'm going to do one per block for easiness)

I told you it would suck! But that doesn't matter because i'm just showing you how to make a cube map not a good cube map. Ok now fill in the bottom block which will be ground, draw the bush part of the middle tree in the top cube, and draw the trunk of the middle tree in the bottom cube.(and add some texture)

Now let me explain why I did this. If you just imagine folding this bitmap into a cube you would see why I put the bush continuation on the top up the upper cube. The very middle cube with the giant tree would be folded behind the cube so in order to make the top of the tree line up you must put the tree top upside down at the very top. (same goes for the trunk except reversed) Everything must line up perfectly or it will look like crap ingame. (on the middle row the hills on the very left match the hight of the hills of the very right). Ok now thats the bitmap is made simply compile in tool. (it will come up with a error but thats normal) After it compiles open the bitmap in Guerilla and change the type to cube map and the format to 32 bit color, then save it and compile in tool again.

There you go! Just add your cube to your shader tag and your set to go! I hope I helped a few people with this tutorial even though the bitmap I made sucked. God bless and happy modding!


