Pre-requisites:
1. Ok, so first you must have yelo installed onto your xbox for this to work. If you do not have this already go here: http://forums.halomods.com/viewtopic.php?t=46410
2. You must have this application called auto stitch. You can get it here:
http://www.cs.ubc.ca/~mbrown/autostitch/autostitch.zip
Here we go:
1. Load the map you wish to take a High Resolution screenshot on through yelo.
2. Go into devcam mode in yelo by pressing: back+dpad-right.
3. Now fly around you map until you have found the angle you would like to take a high res shot of.
4. When you have found the angle you want a High Resolution screenshot of, press white button+d-pad down. You will see the screen move a bunch, as if it were taking a whole bunch of pictures (because it is).
5. When the camera seems to have stopped moving, you can reboot your xbox and get the pictures onto your xbox using this: http://forums.halomods.com/viewtopic.php?t=46369
**I must now explain how the High resolution screenshots work. When you press (white button+d-pad down) it takes 20 pictures, zoomed in so it makes your picture out of 20 pctures, making the picture you wanted have better resolution.**
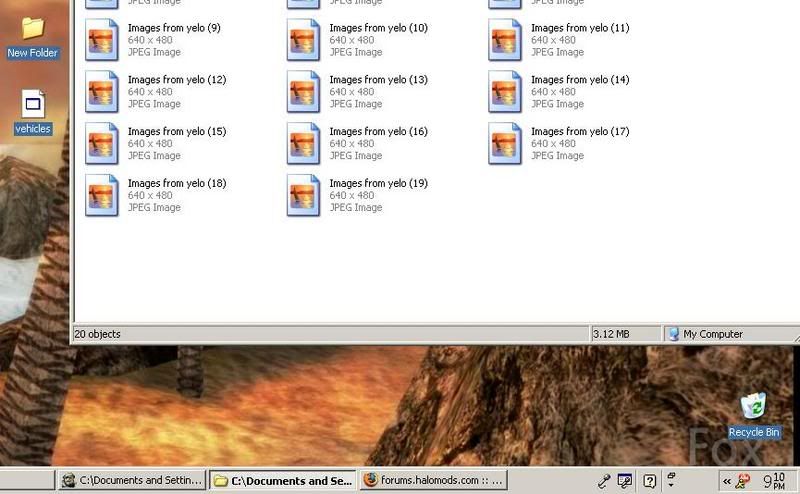
6. Create a new folder on your desktop where you can put the sceenshots that you took when you pressed the high res screenshot button.
7. Now it is time to open the new Autostitch app
Using Edit->Options you can set the following options:
1. Output Size
You may specify the output size based on the desired output width, height or relative size compared to the input images. Be sure to check the radio button beside width, height or relative size appropriately.
2. Blending Method
Select linear or multi-band blending. Multi-band blending is slower but gives better results.
3. Gain Compensation
Selecting gain compensation causes Autostitch to modify the brightness of the images so that they are consistent with each other. This causes dark images to become brighter and bright images to become darker. To amplify the effect, increase the value of gain sigma. Note that this can cause saturation. If this occurs try decreasing the gain sigma or gain mean.
4. Crop Settings
You can specify the rendering range in terms of angles theta (longitude) and phi (latitude). AutoCrop selects these ranges automatically. Make sure AutoCrop is not selected if you wish to set the ranges manually.
5. Matching Options
You can specify the size of the images for SIFT feature extraction and some parameters for the RANSAC algorithm here. If images fail to match, try decreasing alpha and beta, and increasing the SIFT image size. If incorrect matches are found, try increasing alpha and beta.
6. Orientation Settings
AutoStraighten uses a heuristic method to straighten out wavy panoramas.
The manual orientation settings allow you to specify extra rotations for the panorama e.g. to centre it.
7. Image Rotation
If the input images are rotated, select the rotation of the input images here.
8. Other Options
Choose a JPEG quality setting in the range 75-100.
Setting the System Memory allows the program to allocate resources more efficiently. If you get an "Out of Memory" message, try decreasing the System Memory.
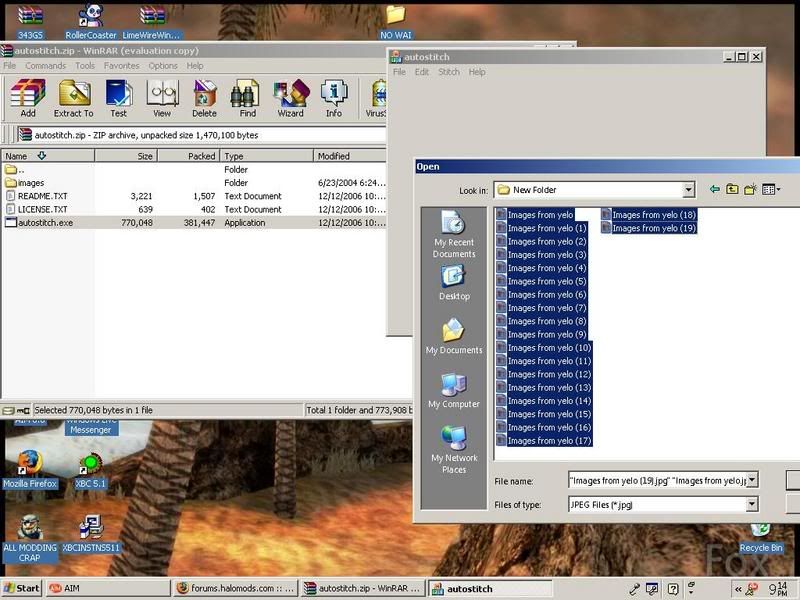
8. Once you have edited the options to your liking, then go to file-open and then navigate to where you saved all of the shots yelo took. To select them all, click the first one, then press and hold shift, and then click the last one, then press open. Shown below.
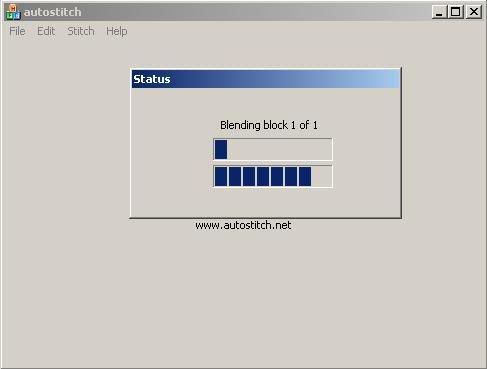
It will start to do stuff, and should look like this:
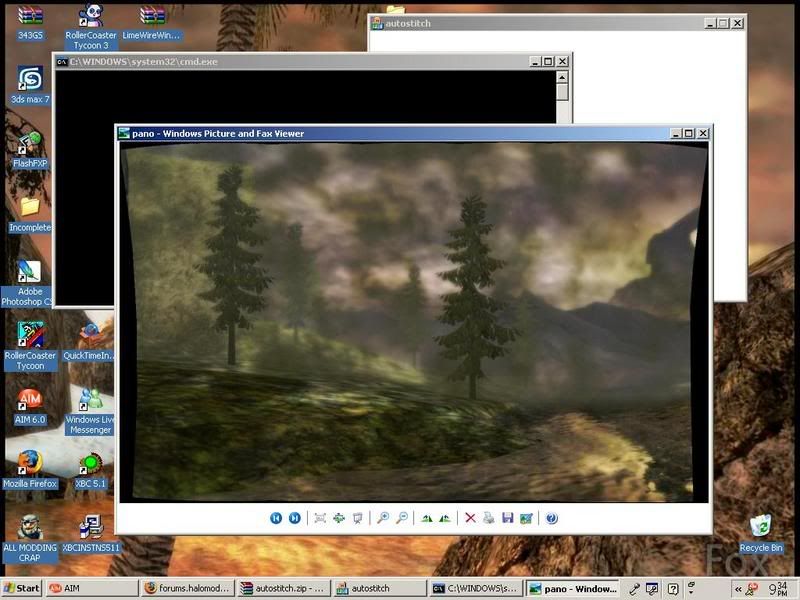
When it is done, it will open you stitched high resolution screenshot in your default image viewer. Like so:
I like to crop out the black on the left and right, in photoshop. To do this, use a tool that looks like this:

and create a square around the area you wish to keep, right click inside of it, and press crop.
After, I like to add a 27 pixel border of all black. To do this, go to edit-stroke, then edit the color to black, and the size to 27 px. Then add my initial in the shot somewhere. Be creative with this part, make a cool little sign, and put it in all your high res shots.
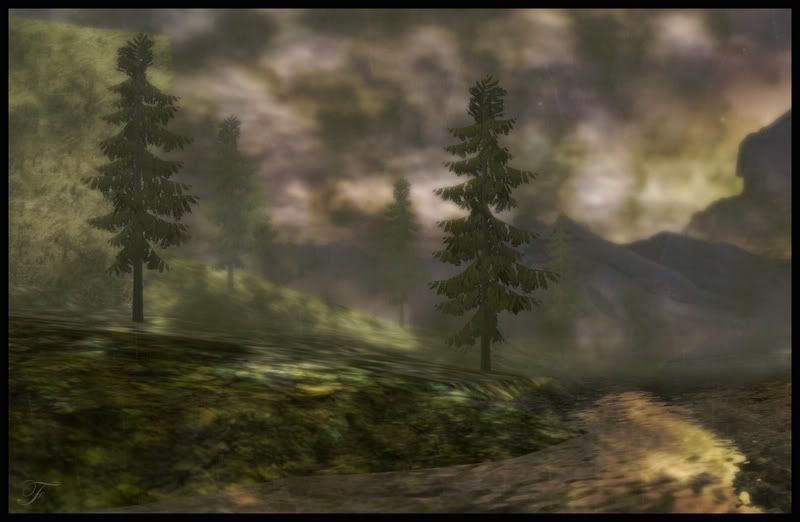
So the overall outcome is this: