
If you don't know what I am talking about, here is the differance:
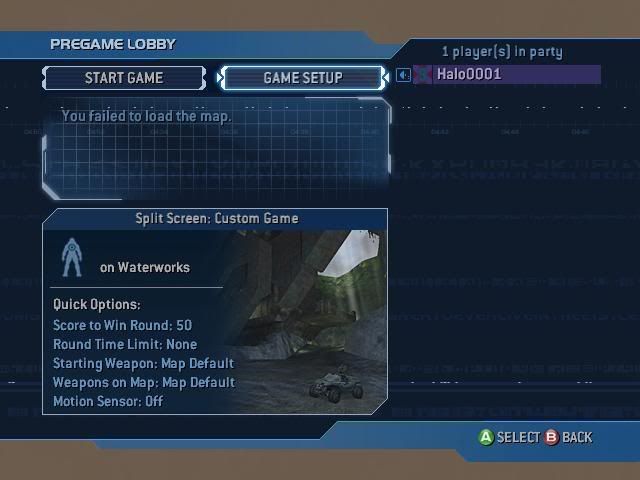
GOOD:
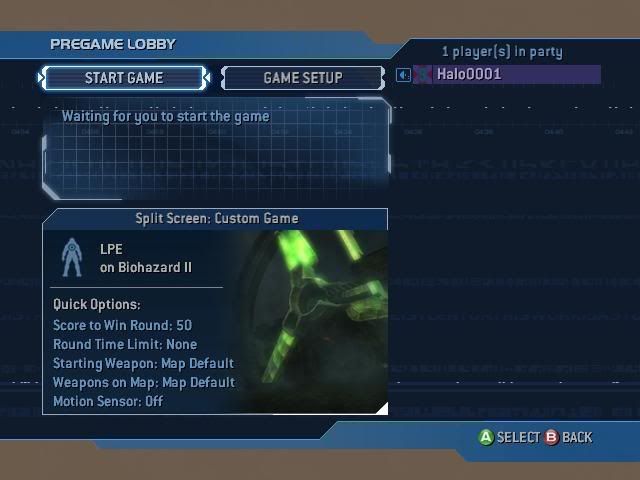
BAD:
(sorry scotty for using ur pic if you find it offensive for me to use it)
Now, the good obviousely is the bungie-created map. And as you can see from Biohazard, there is a lot of white, and there isn't a border. Well this tut will teach you how to easily create one that looks like the waterworks pic.
What you will need:
Dothalo (for extracting the base image)
UberScreenshotTool and Yelo (for getting your image for the mainmenu)
GIMP (duh)
GIMP's DDS plugin (another duh)
Serenity (for reinjecting the image)
PART 1: Getting what you need
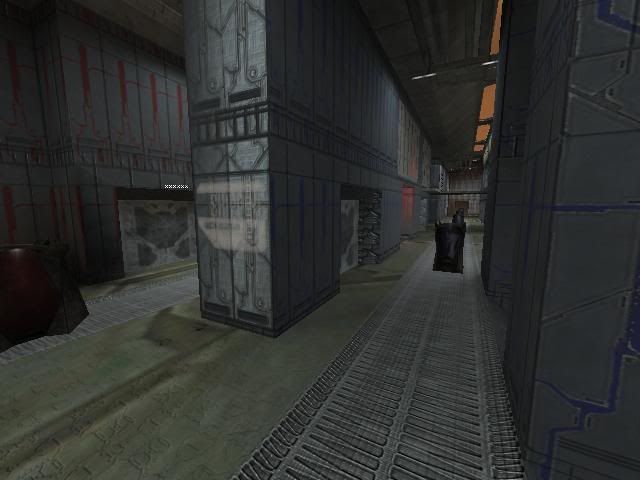
1. start up Xored. You will need to run just the first two options enabled. Start up your mod when Halo 2 is activated. Then take a good panoramic picture of your mod. I suggest getting a glympse of a vehicle. But I would not take a picture of your player (MC or elite or injected biped). I just don't think it looks right. A good example:
2. Go back to your Xbox's dashboard. And on your computer start up UberScreenshotTool. Get your pic you just took and save it to a place you will remember. Now shut down your Xbox. you don't need it anymore.
3. Start up DotHalo. open mainmenu.map. Open the bitmaps tag collection. Find "ui\code_global_bitmaps\multiplayer0". Extract the bitmap and save it wherever you saved the other image. Close DotHalo.
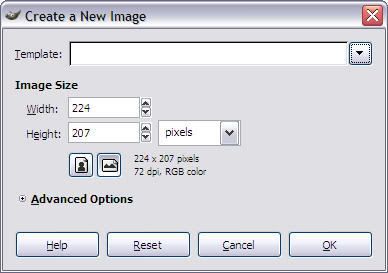
4. Start up GIMP and open those two images. Now go to file>new and create a new blank with a width of 224 pixels, and height of 207 pixels.
PART 2: GIMP'ing the image so it looks bungie-created!
1. on your image you took with Yelo, click on Image>Scale Image... at the top toolbar. now a dialog box will come up. Set it so the new width is 276 pixels. The length will set itself. Then click OK. It should look like this:
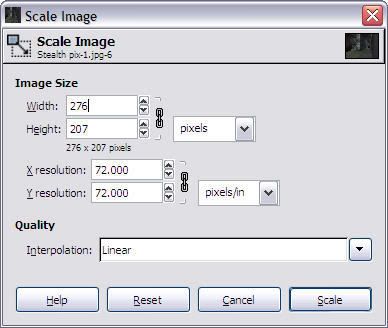
The image will shrink very much. Now, at the top toolbar click edit>copy.
2. go to your blank image. at the top menu bar, click on layer>transperency>add alpha channel. Nothing will happen. So you have to go to edit>clear. Now it will be grey checkerboard looks. go to edit>paste. Now your image will be pasted onto it. now click Layer>anchor layer. Now you can close out the image you shrunk earlier.
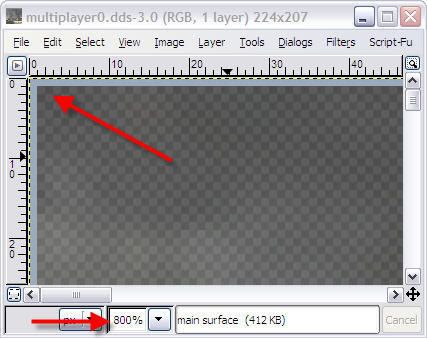
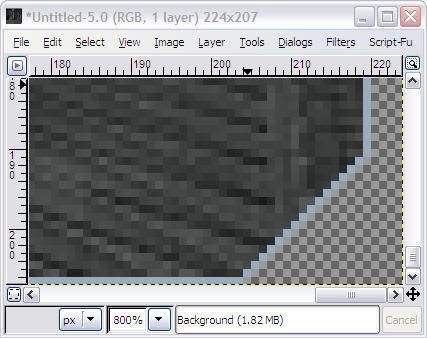
3. go to the DDS image extracted. It should be Ascension. (the actual map you use makes no dif, its just what I am using) Zoom in to 800% and go to the top-left corner.
Now at the GIMP main menu, click on the outline rectamgle at the top left corner.
 And under the options, make sure it looks like mine:
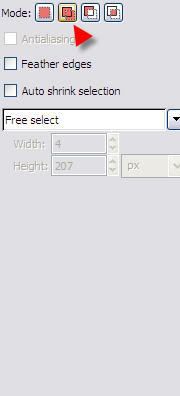
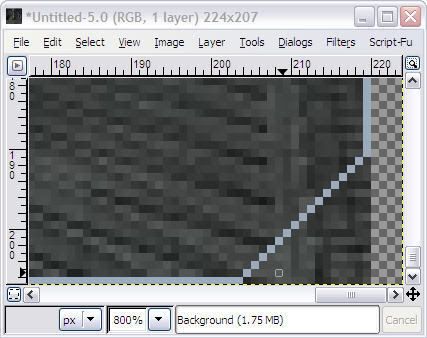
4. now in your arrow, when you float over an image, there should be a plus sign and an outline box next to the arrow. drag a box over the light blue border on one side. Then, drag a new box over another side of the border. The two boxes should be added together. Do the same for the last two egdes. The right side will have a gap. don't select the checker parts. And don't worry about selecting that wierd corner at the bottom right. Once you got what you need, go to the new image, and paste it. Zoom to 800 again there, and fo to the left. move the entire pasted outline so that it is all the way to the left. Anchor the border when it is set. Go to the right. There should be four pixels that the border misses. using the same rectangle tool, select that four-pixel section all the way from top to bottom. right click the selection, then click edit, then click clear. Anchor it. Now go to the bottom right corner. The border should be cut off there. On the GIMP menu, click the pick color tool
 and pick up the color used in the border. Now use the pencil tool. Use the options I show:
Now from one corner of the border to the other, click on each pixel to fill it with that color. Its hard for me to explain, so mimic this:
Now use the pink eraser tool, and erase the excess left at the bottom right corner outside the border.
It should look like this in the end:
5. Now its time to save it. Go to file>save as. Name it whatever you want and save it wherever you want, just make sure the name ends with .dds. Now it will give you options. Make them like this:
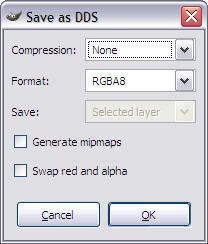
Then click OK and you are done!
Final result:
(I made this for xlRainlx's mod that he asked me to make)
6. Now open Serenity. Click on mainmenu, and single click the big picture box. It will ask you to find a dds image. Find the one you made. Then fill out the discription and name and make sure use main menu is checked. Create the patch, and that is it!!!
I hope this was helpful, and I also hope not to see any more of that other crap people did to the menu images. *not to be offensive to anybody*

