For this tutorial, you will need the following.
-Adobe Photoshop CS2
-Nvidia Photoshop DDS Plugins(Currently Version 7.83)
-The PSD Template I made, and attached at the bottom.
First off, open the Mainmenu Preview Image Template.PSD that I have attached at the bottom. When you open it, the template will be blank, for the most part.
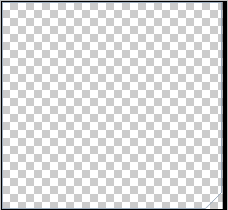
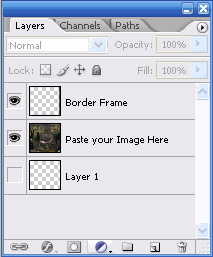
You will see 3 Layers, 2 of which should be visible.
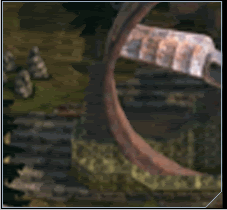
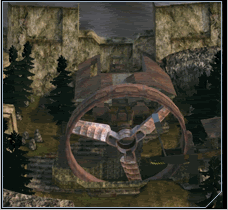
Now, find an image that you would like to be shown on your Mainmenu, I will be using one for The Lakeside.
Open that image in Photoshop, Select the Rectangular Marquee Tool, and select the reigon of the image you wish to have in your Mainmenu.


Once you have selected an area, cut it from the current image (Ctrl+x).
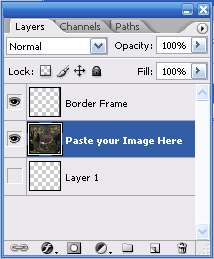
Next, go back to the Preview Template, select the "Paste your Image Here" layer, and hit paste. (Ctrl+p)
Now that your image is in the template, you need to re-size and position your image to your liking.
In the toolbox, select the "Move" Tool. At the top of Photoshop, make sure "Show Transform Controls" is selected.


Move and resize the image to your liking, then move onto the next step.
Now that we have your image resized to look good, Its time to get rid of that repulsive corner, and trim it down.
Select the "Border Frame" layer.
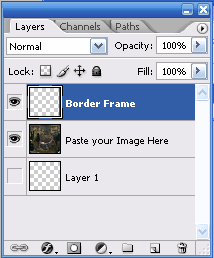
Once that layer is selected, select the "Magic Wand" tool.

With the Magic Wand Tool, select the area inbetween the border and the image peremiter (The Bottom Right Corner).

With the bottom right corner still selected, select the "Paste your Image Here" layer. Then hit delete.
.Now, the right corner should be removed, and your image should look just as good as one Bungie made.

Now its time to save. Goto File>Save and when the dialog comes up select "D3D/DDS [*.DDS].

Select
"8:8:8:8 ARGB (32 bit)" for the first combobox, "2D Texture" for the second combobox, and check the "No-MIP maps" option.

Congradulations. You now have an image with a fine border, and in the correct format, so you can inject them into your Mainmenu, or add them to a .Serentiy Patch.

